I wanted to add hot water temperature to my raspberry pi powered “Pimometer” but wirelessthings dont make a suitable XRF sensor.
I decided to buy a standard wirelessthings temperature sensor, unsoldered the thermistor and added a flying lead resoldering the thermistor to this, making sure to insulate the legs of the thermistor.
Luckily (or not) our hot water cylinder has no insulation around the immersion heater at the top of the tank, using some thermal paste i attached it to the bare metal and taped it in place with some foil tape. I then added it to my pi and left it to get some readings.
The final step was making sure the readings are relatively accurate, using a thermometer under the hot water I compared the real life temperature to the readings on the pi and to my surprise they are are only a couple of degrees out so definitely accurate enough for what I need.
After seven days of data logging I lagged the hot water cylinder to see if there was any significant improvement in heat retention.
NOTE: When first testing this setup I didn’t use thermal paste, the readings were around 30% out which was nowhere near accurate enough, by adding the thermal paste and angling the bead of the thermistor it has improved this considerably.
This is not an exhaustive tutorial but it should explain roughly how I interfaced some “wirelessthings” wireless XRF temperature sensors and a “slice of radio” to my Raspberry Pi and logged data from them.
I will eventually get round to writing it properly.
To begin with I downloaded the lastest Raspian Wheezy, I know there are newer distributions available but I would stick with wheezy as they have changed the way to access the serial port.
Using Apple Pi Baker (a GUI SD card preparation application) I made the SD card ready for my Pi, put it in the Pi and booted with an ethernet cable plugged into my router.
SSH is installed by default on wheezy so I used fing to determine the Pi’s address on my network then used SSH with the user “pi” and password “raspberry”
I then updated the system and changed my password: Sudo apt-get update
Sudo apt-get upgrade
And installed VNC Server, The instructions here https://www.raspberrypi.org/documentation/remote-access/vnc/ explain how to setup and install Tight VNC Server
Finally you need to get the sensors logging I approximately followed the instructions here http://www.lourenco.eu/temperature/instructions.html just editing the python script to accept the message format of the wirelessthings sensors.
btw you can make your script executable using chmod +x monitor.py and in the VNC instructions above it shows how to get a script to run at startup.
In theory your sensor data should now be appearing in the SQLITE DB from boot.
What you do with it all is now down to you, you can use SQL Lite Database Browser for GUI access to your DB, I installed apache2 with php and wrote a very simple page to pull data from the SQL.
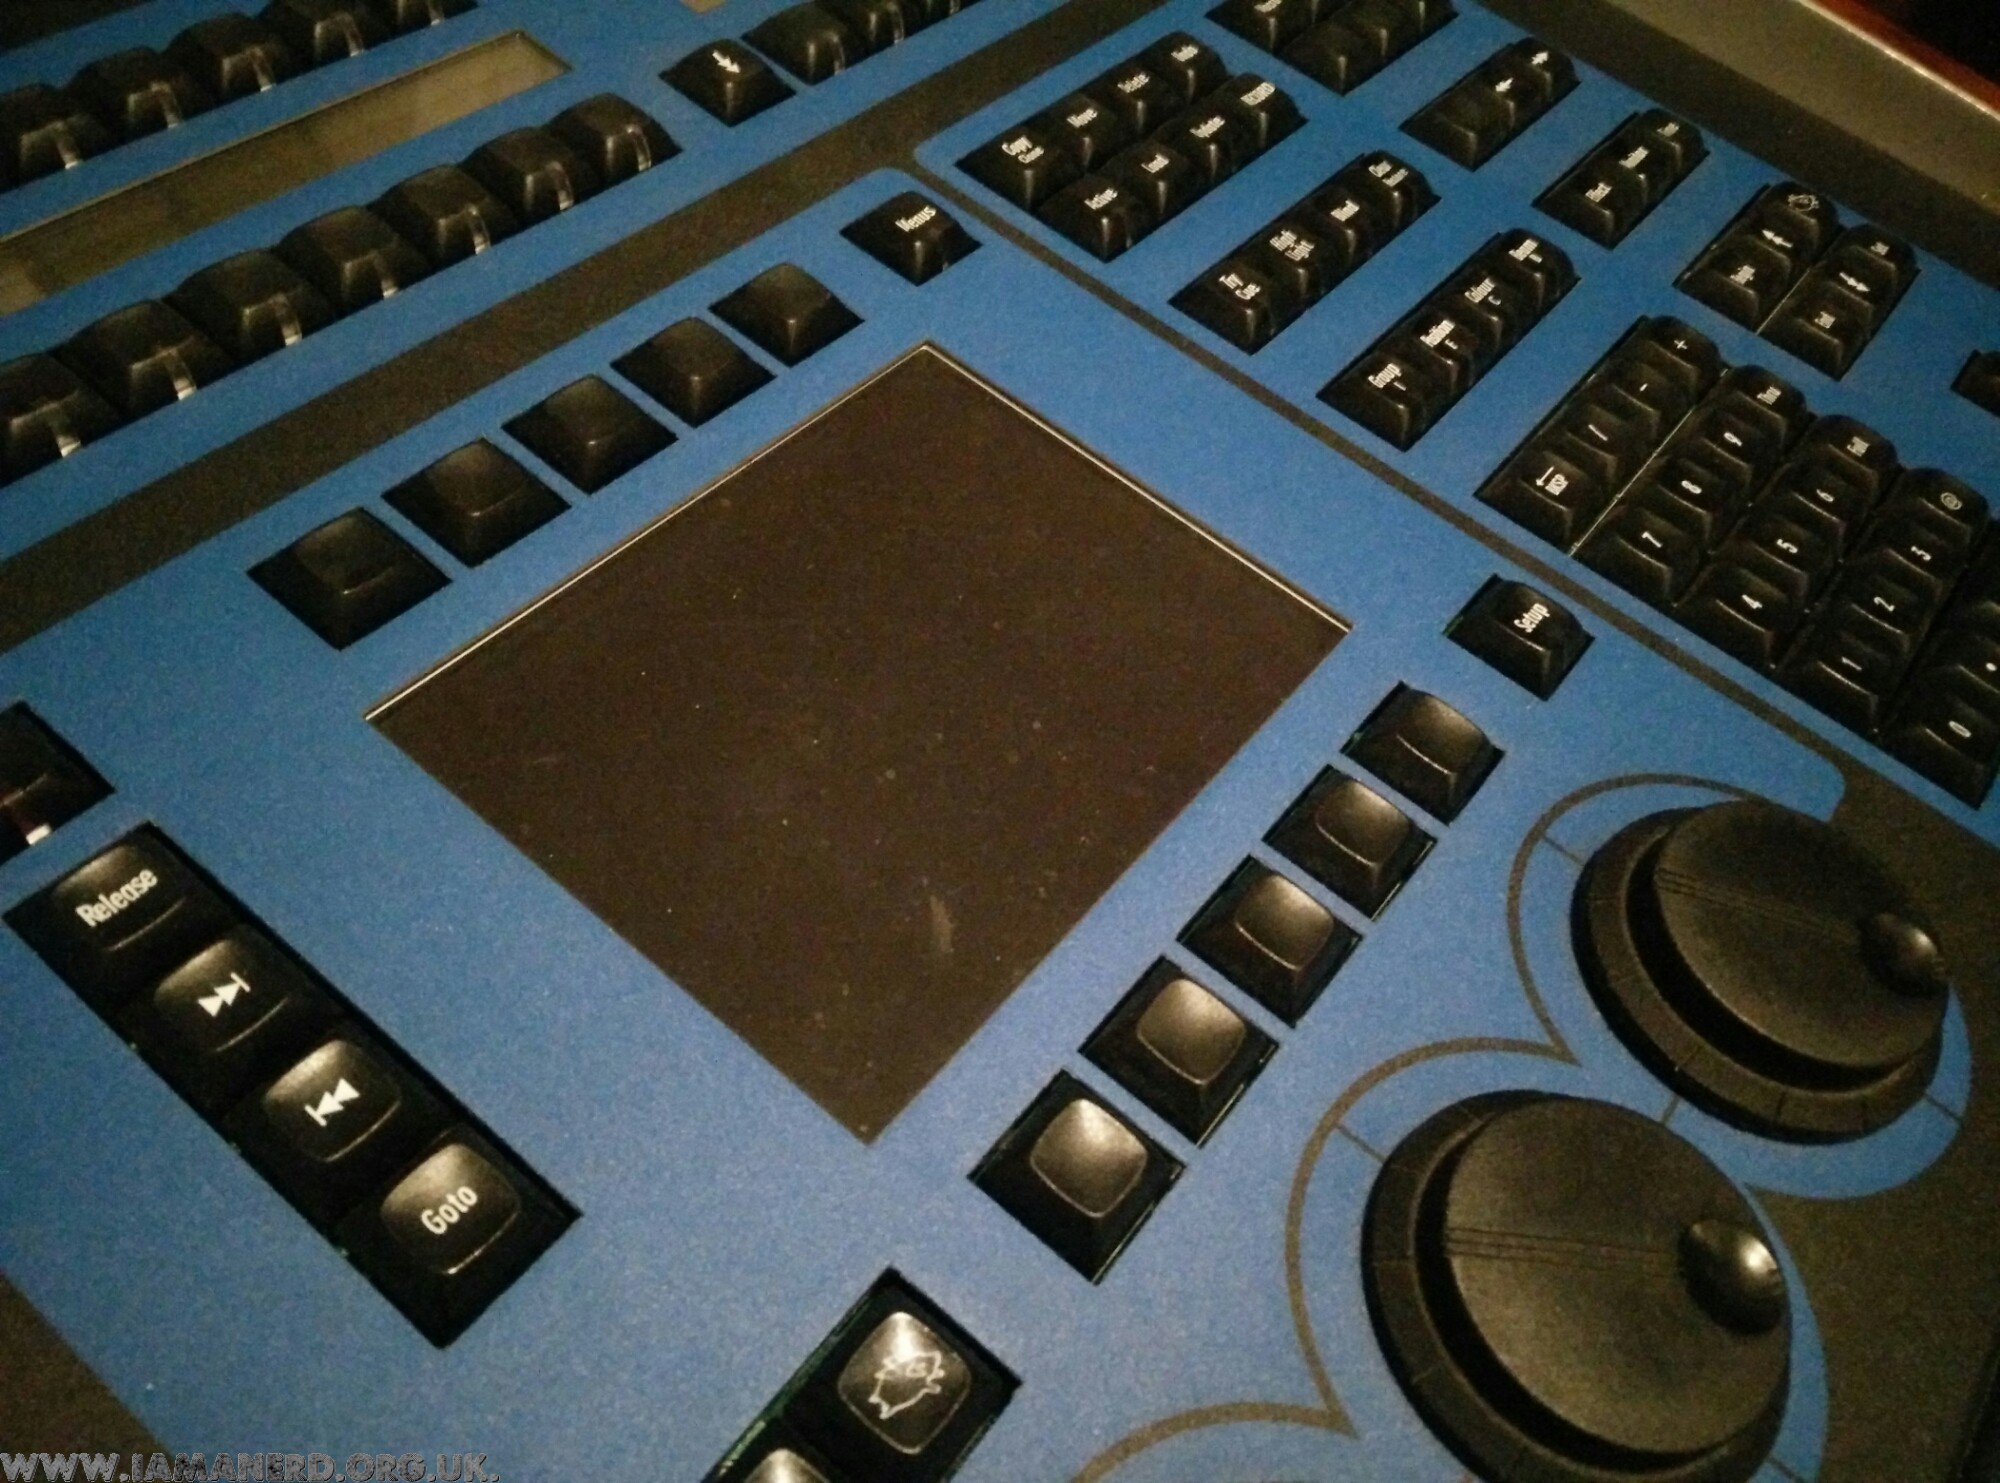
The backlight on my Hog 1000 died, this is not surprising considering its age and the fact that backlights do eventually die! Sadly the inverter and cold cathode tube for this console are no longer available so I decided to replace it with some LED strip!
I first removed the main PCB then the LCD, I de-soldered the inverter and took the cold cathode tube out of the casing.
I removed the foil that covered the tube and slid a strip of daylight LED tape into the aluminum holder (covering the terminals on the tape and the cable where it exits) with some PVC tape.
Finally I found a12vdc supply from the rear PCB and I put the console back together!
It works a treat and is very bright, you can’t control how bright it is from the console anymore and it doesn’t automatically switch off when the console is inactive but beggars cannot be choosers and it works brilliantly!
To get around the dimming issue I have ordered a 12v LED dimmer switch online and plan to fit it just under one of the wooden side panels. I did consider taking a feed from the other LCD backlights so that they dimmed and turned off together in the end I decided it was safer to leave them as they were and not fiddle too much!
So you want to fit front and rear inertia seatbelts in your Mk3 ford Cortina? Well it’s relatively easy and here is how I did it!
The fronts are a simple straight swap but its worth mentioning that they should have a long solid buckle link as otherwise they don’t do up if you are a little on the large side and the inertia reel needs to function vertically, I just bought generic three point inertia seatbelts online.
The rears need to be a three point type but without the extra top guide so that the inertia reel sits on the parcel shelf and functions horizontally, they also need short webbing buckles.
Originally I bought some securon rear seatbelts which were apparently Cortina fit however the webbing on the buckles was too long so they fouled on our child seat. I ended up buying generic intertia seatbelts online and removing the top guides.
Seatbelt mounting holes are already there under the rear seats, the reel itself sits on the parcel shelf and bolts through the holes already in place. I also added some extra very thick large seatbelt mount washers for added security!
Yes its true, you can get pub quality beer from a homebrew beer kit, I’m often asked by friends when they start brewing if I have any tips and what process I go through to get great quality beer from kits so I thought I’d write it down.
If you follow the instructions that come with beer kits you will get a drinkable homebrew however with a few additional steps and a little patience you will get a considerably better beer!
Although not a professional I’ve been home brewing since around 2002, first doing kits and more recently moving on to full mash brews.
A summary of the process::
1. Buy a good full extract kit.
2. Make your wort up from the kit by adding water and yeast then leave to ferment in a bin using an immersion heater to regulate the perfect temperature.
3. Syphon off the fermenting wort after around 48 hours and leave to finish fermenting.
4. After 5-7 days once the specific gravity has stabilised, syphon into a pressure barrel with some sugar and leave to condition.
5. After 20-25 days you will have a great beer to drink, Enjoy drinking your finished beer!
Read on and I will explain the full process.
Firstly to brew great beer from a kit you will need some things:
A good quality beer kit – only buy full malt extract kits, these are the kits with two tins of extract rather than one which you need to add sugar too, they taste much much better when finished!
A decent pressure barrel – If you are going plastic I thoroughly recommend a “king keg” I’ve had one since 2002 and done hundreds of brews, it still works perfectly! they have a top tap which is fed by a float and have a C02 fitting as standard, you do need to use a little Vaseline to seal the cap but I’ve had two of the cheaper bottom tap barrels fail on me so I’ve given up on buying them! My next purchase will be a corny keg (stainless pressure vessel) but more on that another time.
A beer immersion heater – this is a must in order to get a consistent fermentation, since buying one of these several years ago my beers have been considerably better!
Two fermenting bins, you can use one but it will make dropping your wort much harder!
You will also need: At least one fermenter lid with a hole for the immersion heater A siphon A thermometer A hydrometer A large spoon A sample tube or hydrometer jar Some steriliser And some sugar for barrelling (I use brewing sugar (dextrose))
The actual process of making a great quality kit beer is relatively simple and has a few stages; Preparing the wort, Fermentation and Dropping, Racking and Barrelling.
Preparing the wort for fermentation – In this stage we will hydrate the tins of extract (Basically concentrated wort) from your chosen kit beer back into wort ready for fermentation
1. Sterilise all your equipment as per the instructions on your steriliser and rinse it thoroughly afterwards! You don’t want your beer getting mould or other infections in it, besides not tasting good it will make you ill!
2. Open your beer kit and check the contents, you should have at least two tins of malt extract, some instructions and a sachet of yeast, Read the instructions but take them with a pinch of salt and don’t pay too much attention to the timings. Some kits also contain hops which will need to be used as per the instructions with your kit.
3. Pour some warm water in your sink and immerse the tins of extract to soften the contents.
4. Boil 2 full kettles of water and pour them into the fermenter, then put the kettle onto boil again as you may need hot water later.
5. Open the tins of extract and pour them into the bin, stir and have a little taste of the extract its great stuff! You may struggle to get the dregs out as its sticky stuff, I shake the cans in a circle and the centripetal force will throws the contents out!
6. Add a few litres of cold water and keep stirring until all of the extract has dissolved and any extract splattered over the side has also gone, top the bin up with more water to the wort volume in your kit instructions, make sure you check the temperature while doing this and if necessary add some boiling water, you want to get it to around 25 degrees Celsius to ensure a good start to fermentation.
7. Using your hydrometer check the specific gravity of your wort and write it down.
8. Add the yeast, Refer to the instructions on your yeast but generally you will just sprinkle it on the top of your wort.
9. Finally pop your immersion heater into the wort and loosly put the lid on the bin.
Fermentation and dropping – Fermentation is the process whereby the yeast converts the sugars from the wort into alcohol, Dropping is the process we use to discard the bulk of the dead yeast from your finished beer, this is the single most important thing you can do to turn your beer from drinkable homebrew to pub quality beer!
Fermentation usually takes around 5-7 days but could take more or less depending on the beer and the conditions, do not rely on the times stated in the kit instead use the estimated final gravity from the instructions with your kit, Essentially you need to measure the specific gravity of the wort using your hydrometer every day and when it gets to a reading around the estimated final gravity and doesn’t change for 24 hours it is ready for racking and barrelling however we don’t want to just leave it to do this as we will be dropping the wort halfway through.
Dropping needs to be done when approximately half of all the fermentable material has been fermented (usually around 48 hours after fermentation has started), to work this out take the Initial gravity reading that you measured and subtract the estimated final gravity from it, divide this by two and add it to the final gravity, when your worth reaches this specific gravity it is ready to be dropped.
e.g 1040 – 1009 ÷ 2 + 1009 = 1025
When your wort reaches the desired gravity, syphon the clean wort from one fermentation bin to another discarding the sludge at the bottom and any foam or floating deposits (you may loose some of the wort during this process but it is totally worth it as it seriously improves the quality of your final beer) so that your second bin contains only clean wort, position the tap on your syphon at the top of the second barrel pointing it into the side of the bin to allow the wort to aerate this will help the fermentation start again quickly, once this is complete put your immersion heater into the wort and leave it to finish fermentation.
Wort being syphoned into second bin:
Dead yeast left behind in the original bin:
Racking and barrelling – This is the final stage and the easiest although longest stage of the whole process. Essentially we are taking the fermented beer and putting it into a pressure vessel where secondary fermentation occurs creating CO2 and pressurising the beer, this conditions it forcing all the crud to the bottom clearing it and giving it its final flavour.
Once fermentation has finished take 50g of brewing sugar and add it to your pressure barrel then syphon in the clean wort from your fermentation bin discarding the sludge at the bottom and any foam or floating deposits and give it a gentle stir. Screw the cap on tight (If you are bottling add half a teaspoon of sugar to each bottle and syphon directly into the bottles before capping) remembering to lube up the seal and leave it somewhere cool until it is ready to drink. The instructions for your beer kit will give you a guide as to how long this will take (usually around 14-20 days) but always leave it longer than it says as a rule of thumb I usually say around 25% longer.
If you do want to drink it quicker you could always fine it before you barrel it, finings are an additive which encourage the trub to clump and fall to the bottom of the barrel much faster. Most commercial breweries fine their beers so don’t be afraid! Although I have never used finings with kit beers I have with full mashes, (especially when using wheat in the mash) personally I use Kwick Clear and it does a fantastic job!
Green man kit conditioning in the “King Keg”
Once all these steps are completed you will have a clear and great tasting beer. Although there are a few more steps listed here than the bare minimum outlined in most beer kit instructions it is worth completing them all as you will get a much better beer and after all that is what you want!
Its called “Like Harvesting” and its a way for people or organisations to boost their facebook pages allowing them to target larger audiences with subsequent adverts or to sell likes and potentially your profile information to third parties.
Usually these will be a picture, maybe a small girl with a sign saying things such as “my mum says if I get 200,000 likes then I can get a pony”, a picture of a sports car/iPad/high value item with a bow on it pretending to be a competition or more often than not a high value voucher offer for a supermarket or similar.
Its not going to hurt you but think before you share anything on Facebook, try and make sure posts are not created purely for likes and check out the person posting it to see if their page looks legit.
Finally, if the offer seems too good to be true then it probably is!
Its been a while since I brewed from a kit but what with the recent arrival of a baby and prior to that months of working hard I’ve not had the time to do a full mash so I figured I might as well put a kit on anyway!
I’m making a Green man beer kit which I bought yonks back from Wilkinsons it is described as a light golden ale with citrus notes, so right up my street!
Its your standard variety cheap malt extract beer kit with two tins of malt extract and a bag of yeast (Gervin GV12 – Ale yeast), Unfortunately the dog ate the instructions but I managed to decipher the gravity readings and volume from the remains of the shredded paper.
I have made up the wort to approx 22.5 litres at 25C and am getting an OG of 1040 (bang on the recipe) I’ve put my immersion heater in, sprinkled the yeast on and will aim to drop it around SG 1025 (probably around 48 hours from now) FG should be approx 1009.
Update 14th December 2014 – Dropped wort at SG1020
Barrelled on the 18th dec at SG1010 so should be ready around the 11th of January at around 3.9%
Well here it is, the new responsible family car my four door mk3 cortina in evergreen (NME 377L).
Originally a 1600L but now running a 2ltr ohc pinto engine from an 80s Sierra.
It is lowered on its original steel wheels and has had an Alfa Romeo leather interior fitted (it came with the original interior and springs if I want to put it back to stock at some point) and I have fitted front and rear inertia seatbelts
It’s a one year only car with the washer pump and intermittent wiper switch mounted on the floor.
I took this test and the results were so accurate it totally blew my mind!
Start
RESULTS:
Your starsign says nothing about you at all.
Astrology is make believe, it is completely made up, it is pseudosciene and has absolutly no bearing on anything that happens in real life.
If you really think it is anything other than a bit of fun you are mistaken.
Do some research for yourself and while you are at it look into cold reading, you probably beleive in psychics aswell...
Your answers are highlighted below.
Question 1
When is your birth month?
A
January - March
B
April - June
C
July - September
D
October - December
Question 2
What date does your birthday fall on?
A
1st - 10th
B
11th - 20th
C
21st - end of the month
Question 3
What colour are your eyes?
A
Brown
B
Blue
C
Green
D
Grey
E
Other
Question 4
Are you left or right handed?
A
Left
B
Right
C
Ambidextrous
Once you are finished, click the button below. Any items you have not completed will be marked incorrect.
Get Results
There are 4 questions to complete.
←
List
→
Return
Shaded items are complete.
1
2
3
4
End
Return
You have completed
questions
question
Your score is
Correct
Wrong
Partial-Credit
You have not finished your quiz. If you leave this page, your progress will be lost.
1967 Electric sunroof Type 34 Razoredge Karmann Ghia.
I recently decided it was as time to part with the razor, its leaving me this weekend and below is a little information about the car from the advert I made.
This car is a 1967 model Electric Sunroof Ghia which was built in 1966 and originally purchased in Belgium as a LHD car but was converted sometime in the 70’s to RHD. I bought it in 2010 and unfortunately it fairly rapidly fell to pieces having been bodged beyond belief by previous owners, between 2011 and 2012 it underwent serious body off repairs and some restoration work at PanelKraft.
The Chassis was fitted with a pair of brand new KlassicFab type 3 floorpans and any rust was taken care of, it was then sandblasted back to bare metal before being powdercoated. It was fitted with new brake lines and a new master cylinder plus new pads, shoes etc. The rear shocks were replaced and a replacement IRS sub-frame was sourced and fitted as the original one had been interestingly modified. It still has the original front beam which is tatty but solid.
Its Running on American Eagle 2ltr Porche Replica Alloys with modern Continental Tyres all round with lower profile Tyres on the front. I do also have a set of steel wheels that came with it which can be included.
The Body has no rust in it at all but is does have a fair amount of filler. Having been in Britain for many years the panels have had some patches welded in over the years and filler to smooth it out, To be honest it has had some fairly terrible welding done in the past which was uncovered when the interior was sandblasted I have had this bad welding rectified along with any rust before it was painted. The factory fitted sunroof works fine although its missing the dust seal and vanity panel, Its finished in a custom 2 pack Blue paint with matting agent giving it the satin finish which just looks lovely.
The bumpers are in excellent condition with only two very small dents, these are originals and took me a long time to source.
The front seats are Porsche tombstones which are incredibly comfortable and I believe are from a 924, these have been re-trimmed in black vinyl with blue piping the original rear bench seat has been trimmed to match, The carpet set is from spirit of the 50s.
It has an Empi Shifter, a Mooneyes steering wheel and Chrome Dash Knobs but besides these the rest is all standard and I believe there is nothing missing although the radio doesn’t seem to work and the glovebox liner is missing.
The car has been completely rewired with modern fuses, relays etc.
The Engine is an AN code 1800cc flat four motor from a Porsche 914 which is reported as being around 90bhp, it has a pair of rebuilt Solex 36-40 PDSIT carbs and runs like a dream. It has type 4 heat exchangers fitted and takes very little time to warm up although to turn the heating on or off does require the pipes to be added or removed so must be done while stationary.
The car pulls amazingly and it a lot of fun to drive, it corners beautifully and brakes well, it is a very comfortable drive and I absolutely love it.
when I originally got it the reg was JLX 134K but I had an age related plate assigned to it PBY 417D.
The only negatives to my knowledge are that the bodywork is not perfect, it looks great but it does have patches welded in rather than replacement panels and a fair amount of filler under the paint. I don’t think this needs rectifying straight away but it will need sorting eventually I like to be entirely honest when selling a vehicle and if I didn’t mention it i’d feel terrible. It also has a few scratches and dinks in the paintwork (Carpark damage) but you don’t really notice them unless you look up close. It is not stock, It does not have all the correct trim parts and it is nowhere near concourse but it isn’t that kind of car.
Click on pictures below for larger versions
Manage Consent
To provide the best experiences, we use technologies like cookies to store and/or access device information. Consenting to these technologies will allow us to process data such as browsing behavior or unique IDs on this site. Not consenting or withdrawing consent, may adversely affect certain features and functions.
Functional
Always active
The technical storage or access is strictly necessary for the legitimate purpose of enabling the use of a specific service explicitly requested by the subscriber or user, or for the sole purpose of carrying out the transmission of a communication over an electronic communications network.
Preferences
The technical storage or access is necessary for the legitimate purpose of storing preferences that are not requested by the subscriber or user.
Statistics
The technical storage or access that is used exclusively for statistical purposes.The technical storage or access that is used exclusively for anonymous statistical purposes. Without a subpoena, voluntary compliance on the part of your Internet Service Provider, or additional records from a third party, information stored or retrieved for this purpose alone cannot usually be used to identify you.
Marketing
The technical storage or access is required to create user profiles to send advertising, or to track the user on a website or across several websites for similar marketing purposes.


